While I’ve been using Visual Studio 2008 / 2015 / 2017 / 2019 to do most of my C# programming, it is also possible to use VS Code. There’s a workflow I’m building up to where I’d like to deploy to a Raspberry Pi, and it looks like in VS Code it may be possible to do that.
I’m assuming you already have VS Code installed, but if not, you can grab it from https://code.visualstudio.com/. You’ll also need to install the .NET SDK. I’m going to be following the examples on https://dotnet.microsoft.com/learn/dotnet/hello-world-tutorial/install and you can grab it from there.
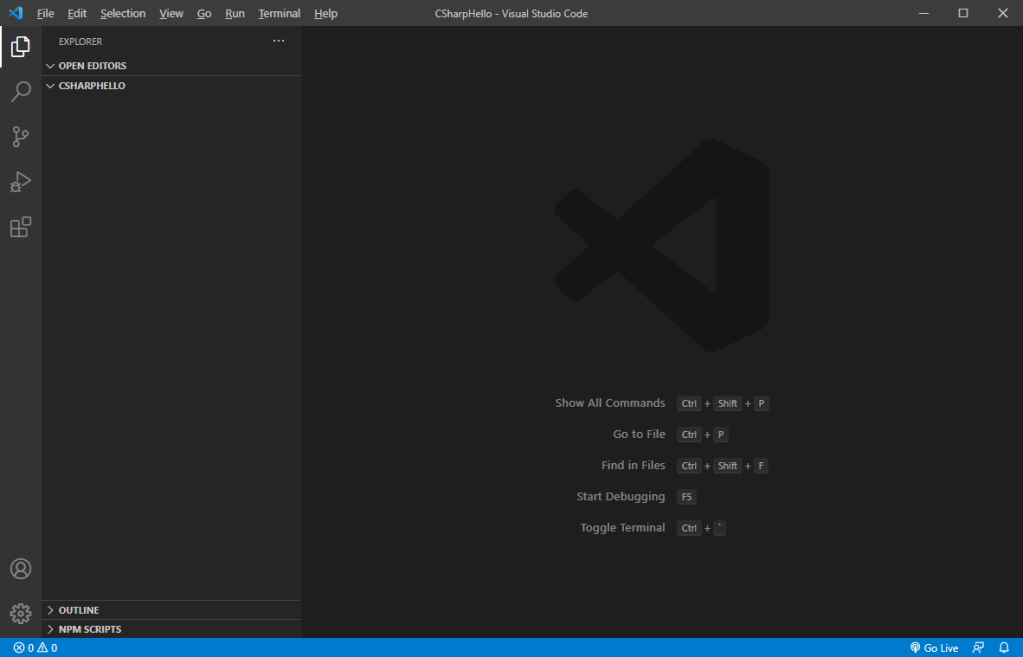
Create a new folder to work in named CSharpHello. We’ll put all our projects for this blog post here. Open the folder in VS Code (File > Open Folder). Your window should look like this:
HelloWorld
The first app we’re going to create will be named HelloWorld. Open a new Terminal window (Terminal > New Terminal). Make sure you can run the dotnet command:
$ dotnet

Usage: dotnet [options]
Usage: dotnet [path-to-application]

Options:
  -h|--help         Display help.
  --info            Display .NET information.
  --list-sdks       Display the installed SDKs.
  --list-runtimes   Display the installed runtimes.

path-to-application:
  The path to an application .dll file to execute.
Now create a new console app named HelloWorld:
$ dotnet new console -o HelloWorld
The template "Console Application" was created successfully.

Processing post-creation actions...
Running 'dotnet restore' on HelloWorld\HelloWorld.csproj...
  Determining projects to restore...
  Restored C:\Jobs\repos\CSharpHello\HelloWorld\HelloWorld.csproj (in 70 ms).
Restore succeeded.
This will create a new folder named HelloWorld. Open Program.cs to see that the template has everything we need:
using System;

namespace HelloWorld
{
    class Program
    {
        static void Main(string[] args)
        {
            Console.WriteLine("Hello World!");
        }
    }
}
Press Ctrl+F5 to build and run your program without debugging. In the console you’ll see the output:
Hello World!Congratulations! You can build .NET apps in VS Code.
HttpHello
Back in the Terminal, create a new app:
$ dotnet new console -o HttpHelloOpen HttpHello/Program.cs and change the greeting to read:
using System;

namespace HttpHello
{
    class Program
    {
        static void Main(string[] args)
        {
            Console.WriteLine("Hello Internet!");
        }
    }
}
Hit Ctrl+F5 to build and run this app. In the console, you’ll see:
Hello World!What happened? Why did it run our old program still? If you go to the Run menu and select Open Configurations, VS Code will open the launch.json file. Here you can see the command to launch the HelloWorld app:
{
    "version": "0.2.0",
    "configurations": [
        {
            // Use IntelliSense to find out which attributes exist for C# debugging
            // Use hover for the description of the existing attributes
            // For further information visit https://github.com/OmniSharp/omnisharp-vscode/blob/master/debugger-launchjson.md
            "name": ".NET Core Launch (console)",
            "type": "coreclr",
            "request": "launch",
            "preLaunchTask": "build",
            // If you have changed target frameworks, make sure to update the program path.
            "program": "${workspaceFolder}/HelloWorld/bin/Debug/net5.0/HelloWorld.dll",
            "args": [],
            "cwd": "${workspaceFolder}/HelloWorld",
            // For more information about the 'console' field, see https://aka.ms/VSCode-CS-LaunchJson-Console
            "console": "internalConsole",
            "stopAtEntry": false
        },
        {
            "name": ".NET Core Attach",
            "type": "coreclr",
            "request": "attach",
            "processId": "${command:pickProcess}"
        }
    ]
}
We could change this or add a new configuration (Run > Add Configuration). VS Code will prompt you using IntelliSense for which configuration you’re trying to add. Select .NET: Launch .NET Core Console App. Make sure to update <target-framework> and <project-name.dll> for our new app:
{
    "name": ".NET Core Launch (console)",
    "type": "coreclr",
    "request": "launch",
    "preLaunchTask": "build",
    "program": "${workspaceFolder}/HttpHello/bin/Debug/net5.0/HttpHello.dll",
    "args": [],
    "cwd": "${workspaceFolder}/HttpHello",
    "stopAtEntry": false,
    "console": "internalConsole"
},
Go back to HttpHello/Program.cs and try Ctrl+F5 again. This time we get a different error message:

Sure enough, our program still wasn’t built. We need to also add a task to tasks.json to tell it to build HttpHello when we try to launch it. Just copy the first build task and paste it immediately after. Then change the following:
"tasks": [
    {
        "label": "build",
        "command": "dotnet",
        "type": "process",
        "args": [
            "build",
            "${workspaceFolder}/HelloWorld/HelloWorld.csproj",
            "/property:GenerateFullPaths=true",
            "/consoleloggerparameters:NoSummary"
        ],
        "problemMatcher": "$msCompile"
    },
    {
        "label": "build",
        "command": "dotnet",
        "type": "process",
        "args": [
            "build",
            "${workspaceFolder}/HttpHello/HttpHello.csproj",
            "/property:GenerateFullPaths=true",
            "/consoleloggerparameters:NoSummary"
        ],
        "problemMatcher": "$msCompile"
    }
]
Now VS Code has all the information it needs to build and run the HttpHello app. Hit Ctrl+F5 and you should see:
Hello Internet!Great! We ran the correct program, now we just have to make it serve a webpage that we can visit with a browser. Update HttpHello/Program.cs with the following code:
using System;
using System.Net;

namespace HttpHello
{
    class Program
    {
        static void Main(string[] args)
        {
            try
            {
                var http = new HttpListener();
                http.Prefixes.Add("http://+:12345/");
                http.Start();

                http.Stop();
            }
            catch (Exception e)
            {
                Console.WriteLine("Exception in Main: {0}", e.Message);
            }
        }
    }
}
This will create a web server listening on port 12345. If you run it now it will start the server then immediately stop it. Or you might run into an exception if you aren’t allowed to run services. You can try replacing the + with localhost if you get an Access is denied message. This is fine for testing since we’ll be connecting from the same machine the program is running on.
Let’s add more code to our try block:
try
{
    var http = new HttpListener();
    http.Prefixes.Add("http://localhost:12345/");
    http.Start();

    var context = http.GetContext(); // blocks until user connects
    var request = context.Request;
    var response = context.Response;

    http.Stop();
}
Hit F5 to start the program with debugging. You’ll notice the program continues to run until you visit http://localhost:12345/. The GetContext method waits (blocks) until a connection is made, then the program continues.
Lets create a page to send back to the browser. response expects to send a string of bytes, so we’ll need to use the proper encoding for our string:
try
{
    var http = new HttpListener();
    http.Prefixes.Add("http://localhost:12345/");
    http.Start();

    var context = http.GetContext(); // blocks until user connects
    var request = context.Request;
    var response = context.Response;

    string msg = "<html><body><h1>Hello Internet!</h1></body></html>";
    byte[] buf = System.Text.Encoding.UTF8.GetBytes(msg);

    http.Stop();
}
And the last step is to write the output. We also need to report how many bytes we’re sending:
try
{
    var http = new HttpListener();
    http.Prefixes.Add("http://localhost:12345/");
    http.Start();

    var context = http.GetContext(); // blocks until user connects
    var request = context.Request;
    var response = context.Response;

    string msg = "<html><body><h1>Hello Internet!</h1></body></html>";
    byte[] buf = System.Text.Encoding.UTF8.GetBytes(msg);

    response.ContentLength64 = buf.Length;
    var output = response.OutputStream;

    output.Write(buf, 0, buf.Length);
    output.Close();

    http.Stop();
}
Run this with F5 and you should get a nice big hello in your web browser:

Next Time
Now that we can build C# programs in VS Code, we’ll look at how we can deploy them to a Raspberry Pi running .NET 5.0.

One thought on “C# in VS Code”