Earlier this year I experimented with Crestron’s HTML5 offering (dubbed CH5) and felt several pieces were lacking:
- Decent looking components
- Documentation
- Ability to test using an XPanel
Now that we’re well past Masters 2021, my hopes of a clear understanding of the CH5 framework still unfulfilled, I think it’s time to revisit this topic.
I’m hoping to build another series of posts exploring HTML5 in detail. I’m not going to bother trying to dissect Crestron’s CH5 template again. Trying to work around it gave me a headache last time. So I won’t discuss using it other than to grab the couple of libraries we need to talk to a control system.
Review of HTML / CSS / JS
Before we get ahead of ourselves, lets make sure we understand the components of an HTML5 web application:
- HTML is the structure of our web app. We want to segment our layout into semantically meaningful clumps. This is where we’ll define things like: header, footer, view, etc.
- CSS is the look and feel. We can get pretty fancy with CSS, even causing parts of our layout to animate. We’ll use it to show and hide which subpage is currently active as well.
- JS controls the functionality. We’ll use JS to handle UI logic and to bridge the connection to the control system. We’ll cover how to keep state synchronized between the two (or more) programs.
Another important concept to highlight is that our touchpanel layout is a Single Page Application (SPA). These are purposely-written web apps where everything is delivered via a single HTML page. This is important in our design because we don’t want the user to notice any latency when trying to navigate around the different elements in our layout. We can also use JS to lazily load things when it makes sense.
Frameworks
Because SPAs are so popular in web development now, there are many frameworks to help build them. Here is just a small list of what’s available in 2021:
I’d like to explore each of these and offer a post dedicated to each (probably near the end of this series). For now, we’re going to stick with no framework–also known as VanillaJS–to keep a clear separation between what we need to get the job done and what is added sugar.
Outline
Here’s a rough outline for what I have in mind right now for this series of posts:
- Create an HTML5 layout
- Contract Editor
- CrComLib and WebXPanel
- Using JS to glue UI together
- Embracing the 4-series processors
- Huddle Room design
- Conference Room design
- Boardroom design
- Divisible MPR design
- Auditorium design
- Conference Center design
- Tips & Tricks
- Building with popular frameworks
I can’t promise this list is set in stone. It might evolve differently as I work through it. Once writing about a topic turns from fun into a chore, I tend to look for an escape hatch! I do hope to get to most of it, I think it would be handy to have around.
Enough Talk, More Code!
Thanks for hanging in there while I got some words off my chest, but maybe we should think about writing some actual code now?
I’m going to show you all the steps this time, even the housekeeping I do behind the scenes. First I head over to GitHub and create a new repository:
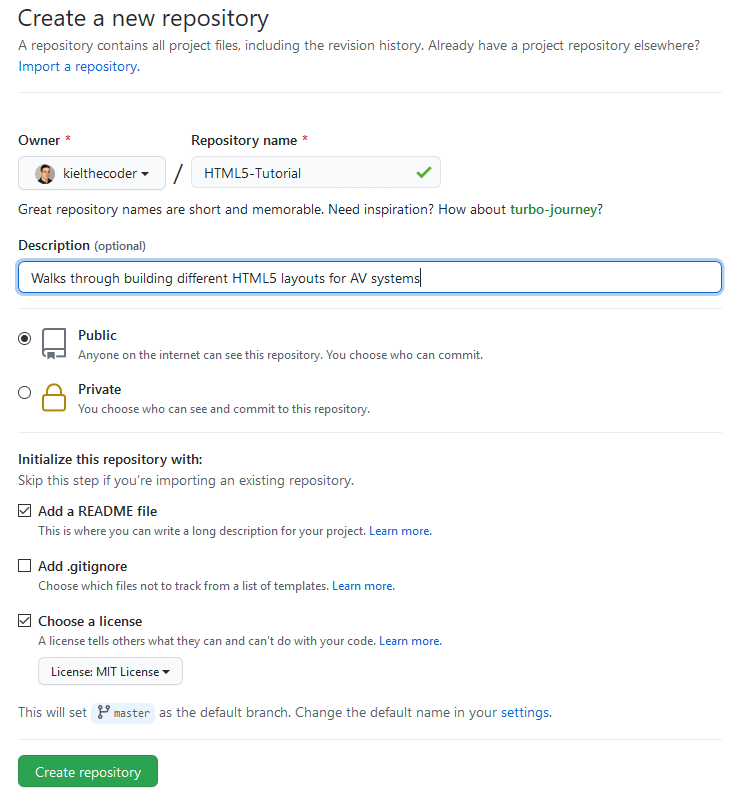
And with that, we’ve made the world a better place! My next step is to fire up Git Bash and clone the new repository to my laptop:
$ git clone https://github.com/kielthecoder/HTML5-Tutorial.git
Cloning into 'HTML5-Tutorial'...
remote: Enumerating objects: 4, done.
remote: Counting objects: 100% (4/4), done.
remote: Compressing objects: 100% (4/4), done.
remote: Total 4 (delta 0), reused 0 (delta 0), pack-reused 0
Receiving objects: 100% (4/4), done.

$ cd HTML5-Tutorial
$ code .
The last two commands change into the new repository’s directory and opens Visual Studio Code. I’ll update README.md to give it a bit more substance and point people back to this blog.
Create a new folder named src/ and a new file named index.html inside it. I’m not going to spend any time covering how to setup Visual Studio Code (since I already have) so type in html:5 and press Enter to get a nice starting template:
<!DOCTYPE html>
<html lang="en">
<head>
    <meta charset="UTF-8">
    <meta http-equiv="X-UA-Compatible" content="IE=edge">
    <meta name="viewport" content="width=device-width, initial-scale=1.0">
    <title>Document</title>
</head>
<body>

</body>
</html>
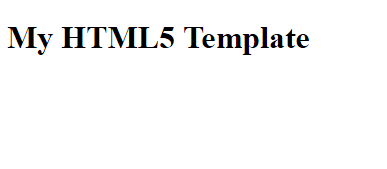
Lets add something to the body so we know our page loaded correctly:
<body>
    <div class="content">
        <h1>My HTML5 Template</h1>
    </div>
</body>
Save index.html and select Open with Live Server from the right-click menu. It opens, but not very impressively:
Create a new file, src/style.css:
@import url('https://fonts.googleapis.com/css2?family=Muli:wght@400;700&display=swap');

* {
    box-sizing: border-box;
    margin: 0;
}

body {
    display: flex;
    align-items: center;
    justify-content: center;
    height: 100vh;
    width: 100vw;
    overflow: hidden;
    background: white;
    color: black;
}

h1 {
    font-family: 'Muli', sans-serif;
    font-size: 4rem;
}

h2 {
    font-family: 'Muli', sans-serif;
    font-style: italic;
    font-size: 2rem;
    font-weight: normal;
    text-align: center;
    color: rebeccapurple;
}
And include a link to it from index.html:
<!DOCTYPE html>
<html lang="en">
<head>
    <meta charset="UTF-8">
    <meta http-equiv="X-UA-Compatible" content="IE=edge">
    <meta name="viewport" content="width=device-width, initial-scale=1.0">
    <title>Document</title>
    <link rel="stylesheet" href="style.css">
</head>
<body>
    <div class="content">
        <h1>My HTML5 Template</h1>
    </div>
</body>
</html>
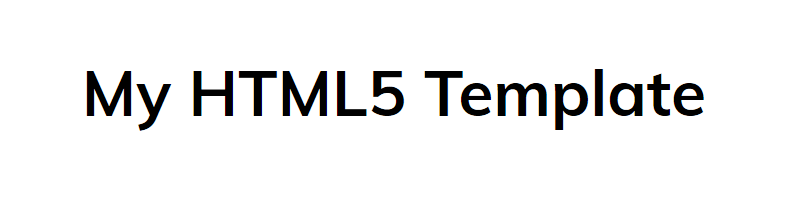
Looking better!
Let’s create some JavaScript to go with it, too. Create src/app.js:
document.addEventListener('DOMContentLoaded', function () {
    let content = document.querySelector('.content');

    let msg = document.createElement('h2');
    msg.innerText = '(batteries included)';
    console.log(msg);

    content.appendChild(msg);
});
And include a link to the script in index.html:
<!DOCTYPE html>
<html lang="en">
<head>
    <meta charset="UTF-8">
    <meta http-equiv="X-UA-Compatible" content="IE=edge">
    <meta name="viewport" content="width=device-width, initial-scale=1.0">
    <title>Document</title>
    <link rel="stylesheet" href="style.css">
    <script src="app.js"></script>
</head>
<body>
    <div class="content">
        <h1>My HTML5 Template</h1>
    </div>
</body>
</html>
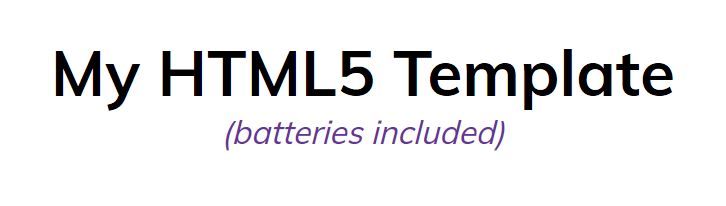
There, we’ve got HTML, CSS, and JS all playing nicely with each other!
Housekeeping
We’ve got a decent starting point, but we can’t forget that we need to check our work into git (and eventually push it back up to GitHub). We can do git check-ins right from VS Code:

Once you’ve committed your code changes, you can close out of VS Code. I prefer to do most of my source control from Git Bash. First I know we’re already on the master branch because it’s part of my command prompt:
kiel MINGW64 /c/Jobs/repos/HTML5-Tutorial (master)
$
In previous tutorials, I’ve made a separate branch for each post. In this series, I’m going to keep commiting to master until we start to build out the different room types. So in Git Bash, I’ll do a push to send my changes to GitHub:
$ git push
Enumerating objects: 9, done.
Counting objects: 100% (9/9), done.
Delta compression using up to 8 threads
Compressing objects: 100% (7/7), done.
Writing objects: 100% (7/7), 1.31 KiB | 335.00 KiB/s, done.
Total 7 (delta 0), reused 0 (delta 0), pack-reused 0
To https://github.com/kielthecoder/HTML5-Tutorial.git
   dcd297f..0746359  master -> master
Summary
Sorry, not a lot of code written in this post! But we’ll flesh out the layout more in the next one. Then we’ll take another look at the Contract Editor. Thanks for reading!
